Bats flying wall decor is a quick and easy paper craft to make, it transforms your wall and perhaps your home instantly for a spooky Halloween ambiance. How quick is it? It takes about 1 hour with most of the time spends on cutting out the bats. How easy is it? All you need to do is trace, cut, bend, and stick.
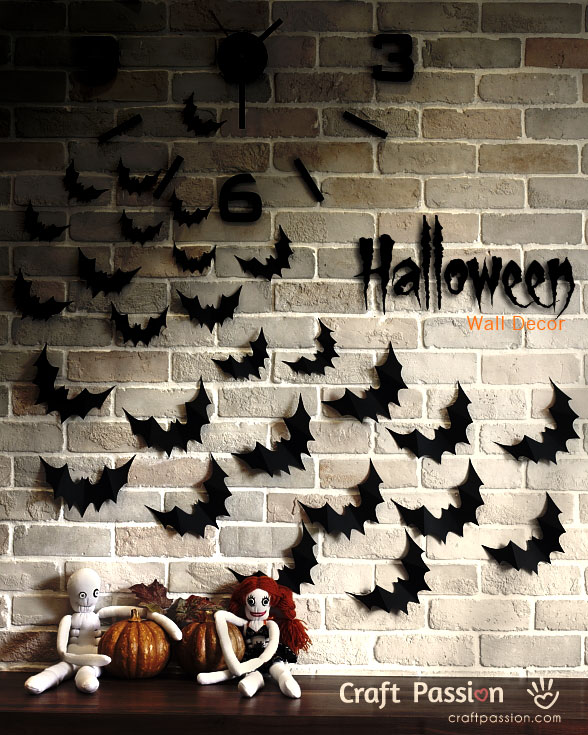
Inspired by the butterfly wall that I did for my daughter, I enlarged the bat template from the Halloween pillow I made last year and taadaa…. A Bat Swarming Wall is created. You may also hang the bats on the tree branches.
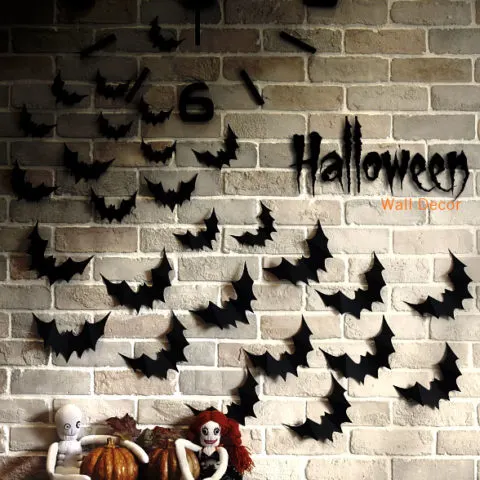
You may further decorate the bat swarmed wall by adding black tulle netting, some spider webs, and spiders on the corners of the wall or on the bar counter to make it more spooky. Some skeletons, crows, jack ‘o lantern, ghost light, mummy holder will do great for the Halloween bar counter too.

Click the links to get more ideas on Halloween crafts and get some Halloween party treat ideas for a perfect Halloween reception.
More Halloween crafts are to be added soon for the whole of October month. Stay tuned!!!

Halloween Wall Decor – Bats Flying
Bats flying wall decor is a quick and easy paper craft to make, it transforms your wall and perhaps your home instantly for a spooky Halloween ambiance. How quick is it? It takes about 1 hour with most of the time spends on cutting out the bats. How easy is it? All you need to do is trace, cut, bend, and stick.
Enjoy making them!
Materials
- Black cardstocks
- White cardstocks
Tools
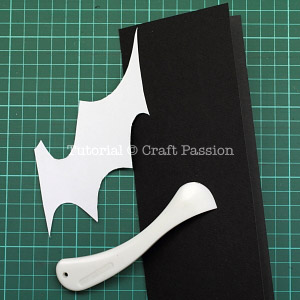
- Bat templates
- Bone folder
- Scissor
- Ruler
- Double-sided tape
Instructions
- a. Download the bat templates here or by clicking the picture.
b. Open it in Adobe reader (not in a web browser) to get the correct scale.
c. Print it out on white cardstock.
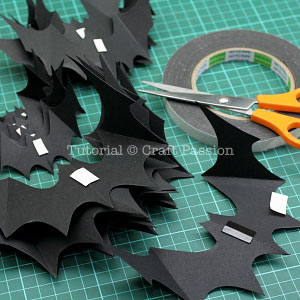
- Cut out the bat templates of assorted sizes from the printed white cardstock.
Each template is only showing half of the bat.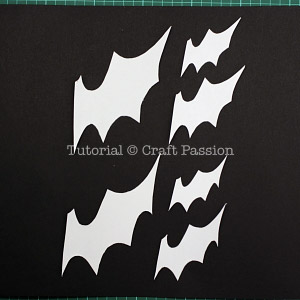
- Fold a piece of black cardstock with the width of the bat template.
- With both template and cardstock fold lines aligned, trace the template to the black cardstock by using a bone folder.

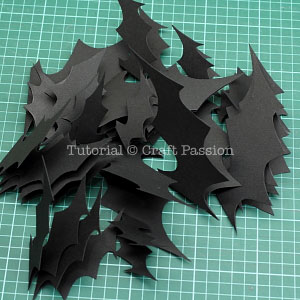
- Cut the bat out with a pair of scissors, be sure that both layers are well aligned during cutting.

- Trace and cut as many as you need to decorate your wall.
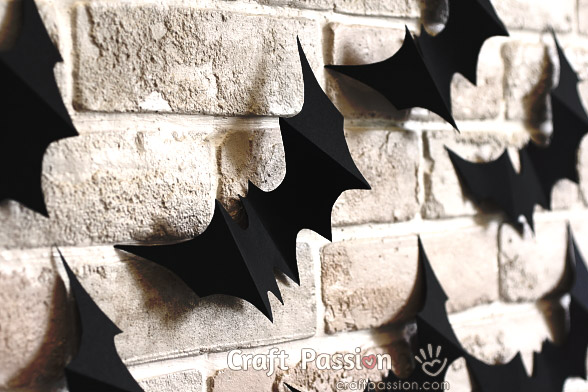
- Use a ruler and bone folder to make a crease line on the wings of the bats.
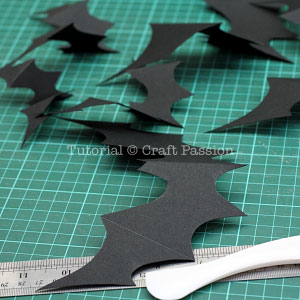
- Fold the crease line to make a bend on the wings.
Take note that the fold and bend direction of the wing is opposed to the direction of the centerline.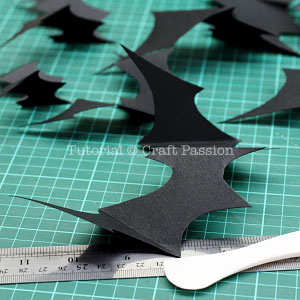
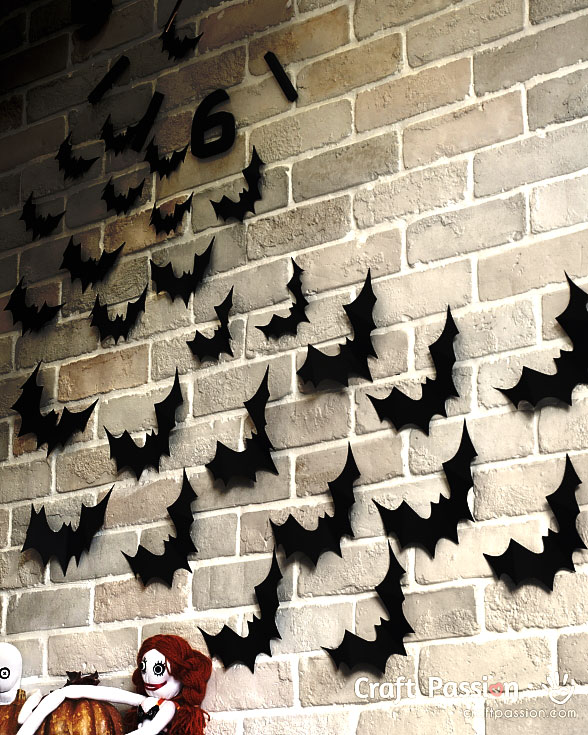
- Attach a small piece of double-sided tape at the center, remove the backing and stick the bats on the wall as they are swarming towards a direction.
Aliselle
Monday 27th of October 2014
Merci beaucoup pour ce partage! Elles sont superbes ces chauves-souris! Have a good day.
Translation (by Google): Thank you very much for sharing! They are superb these bats! Have a good day.
doro von Hand zu Hand
Monday 28th of October 2013
brilliant. i love this!
I linked to your tutorial on my blog - thanks for sharing!
♥, doro von Hand zu Hand
Steff
Friday 18th of October 2013
Wow, love the bats swarm wall so much, soooooo Halloween!!!