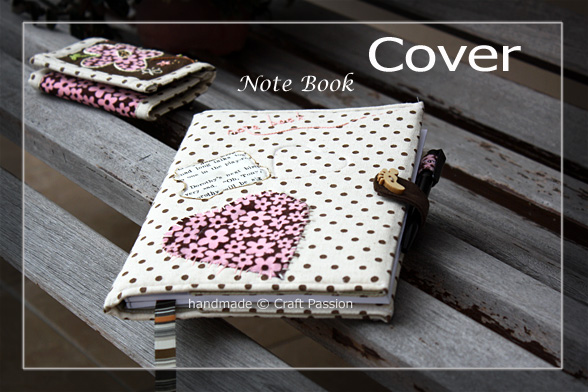
Note Book Cover Sewing Pattern
Let's dressed-up your note book and personalized it to your taste with a new cover!!!! Sew a notebook cover of your own by using this note book cover sewing pattern.
I made my own note book cover after buying a cheap notebook from the stationery shop! Why spend more on the cover that I will throw away upon finishing up the whole book?
By salvaging some leftover fabrics from my stashes to sew it, which I can use repeatedly, book after book.
Look familiar? You are right! Those leftover fabrics are from my trifold floral wallet project. Now, I have a set of matching wallet with a notebook!!!
This pattern is for A5 size note book, if you have other sizes, don't worry, you can still adapt to this note-book cover pattern or you can make a non-sew-up back cover with a strap for adjustment to suit different width.
Read further for more info about how to sew this notebook cover.
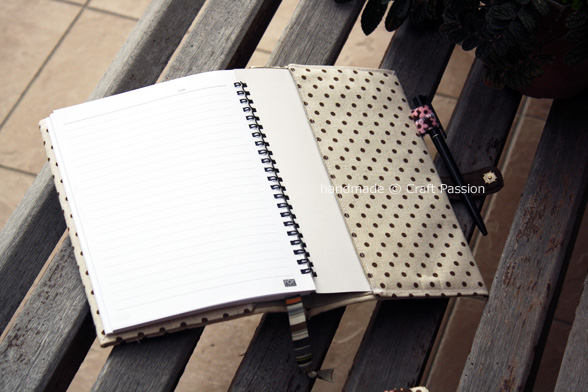

NOTE-BOOK COVER SEWING PATTERN
Let’s dress up your notebook and personalize it to your taste with a new cover!!!! Sew a notebook cover of your own by using this notebook cover sewing pattern.
I made my own notebook cover after buying a cheap notebook from the stationery shop! Why spend more on the cover that I will throw away upon finishing up the whole book?
By salvaging some leftover fabrics from my stashes to sew, which I can use repeatedly, book after book.
Enjoy sewing them!
Download and print the notebook cover sewing template separately for drawing the fabric.
Materials
- Main Cover Fabric = 22 ¾″ x 9 ¾″
- Side Lining = 5 ½″ x 9 ¾″ (2 pcs.)
- Center Lining = 13 ¼″ x 9 ¾″
- Batting (5mm loft) = 12 ¾″ x 8 ¾″
- Rigid Fusible Interfacing = 4 ½″ x 8 ¾″ (2 pcs.), 12 ¼″ x 8 ½″
- Ribbon = 15″
- Appliques fabric = Floral, brown, alphabet
- Embroidery flosses
- Sewable magnetic button (1 pair)
- Decorative button
- A5 Note Book: 12 ¼″ around (including the binder), 8 ¼″ height
Tools
- Sewing essential
- Sewing Machine
- Iron
- Water erasable pen
Instructions
MORE DETAILS ON HOW TO SEW NOTE-BOOK COVER
 Click the picture to download the pattern. Print it in letter size paper, don’t scale. Enlarge according to the pattern for page 2-4.
*Remark:
If your notebook is not in A5 size, measure the width (around) and height:
1. Add 9 ½″ to the width for the main fabric,
2. Add ½″ of the all the height, except center lining ¼″.- a. Cut all materials according to patterns and seam allowances. No seam allowance for fusible interfacing and batting.
b. Baste batting to the wrong side of the center part of the main cover.
c. Embellish and embroidery the appliques and patterns onto the cover.
d. Make a few embossing hearts at the back cover if you like. - a. Needle turn and slip stitch the floral heart applique with hand, then topstitch the center with a sewing machine.
b. Embroidery the wording by using branch stitch.
c. Sew the smaller heart by using a sewing machine.
d. To make the burnt effect of the letter applique, cut a slightly bigger square of an alphabet fabric, burnt the edges with a tea-light candle until it reaches the shape you want. Sew it on the front cover with a sewing machine. - Hide thread ends by pulling both front thread-ends to the wrong side of the stitch, tie them up and trim the ends. (This will ensure the threads won’t come off and stick out to the front.)
- a. Fold the top and bottom edges of the pen holder to the center, sew a zigzag stitch along. Topstitch near the edges.
b. Sew the sides together, turn, sew it on the Pen Holder markers.
c. With right side facing each other, sew around the fastener, leaving an opening on the straight vertical edge. Clip curve.
d. Turn and fold in the seam allowance of the opening. Topstitch around and sew ½″ length to the Fastener markers on the cover.
e. Sew a magnetic button and decorative button. - Iron rigid fusible interfacing to the wrong side of the left and right of the main cover.
- a. With right side facing each other, sew side linings to the main cover.
b. Clip corner, turn. Adjust the corner and press.
c. Press the top & bottom edge of the cover & baste them in place.
d. Sew pocket in place.
e. Baste bookmark ribbon to the right of the center (with the wrong side of the cover facing you).
f. Iron rigid fusible interfacing to the center lining, fold top and bottom edges in and press. - a. Place the center lining on top of the wrong side of the cover. b. Pin it to secure.
c. Since the center part of the cover is bigger than the center lining, align the side edges and leave extra space on the center to account for the fold of the notebook. - Flip the left and right side lining onto it. Sew along the red lines.
- Slot the front and back cover to the sidelining pockets.
- Close the notebook and check for the fitting. Just in case it is a little too tight, trim the edges of the notebook to make them fit better. (Mine fitted very well, no modification was needed.)
- Insert a pen into the pen holder. Check for the position to sew the other pair of of the magnetic button.
~~Done!~~
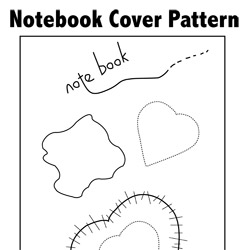 Click the picture to download the pattern. Print it in letter size paper, don’t scale. Enlarge according to the pattern for page 2-4.
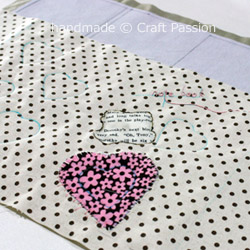 a. Cut all materials according to patterns and seam allowances. No seam allowance for fusible interfacing and batting.
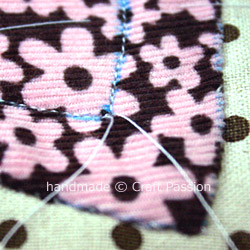 a. Needle turn and slip stitch the floral heart applique with hand, then topstitch the center with a sewing machine.
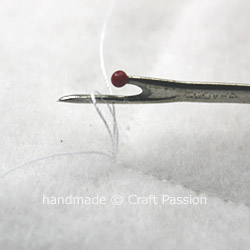 Hide thread ends by pulling both front thread-ends to the wrong side of the stitch, tie them up and trim the ends. (This will ensure the threads won’t come off and stick out to the front.)
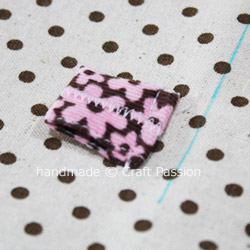 a. Fold the top and bottom edges of the pen holder to the center, sew a zigzag stitch along. Topstitch near the edges.
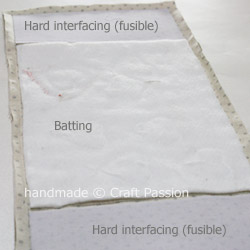 Iron rigid fusible interfacing to the wrong side of the left and right of the main cover.
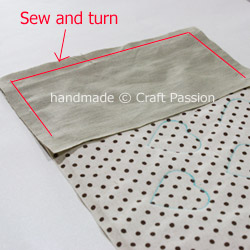 a. With right side facing each other, sew side linings to the main cover.
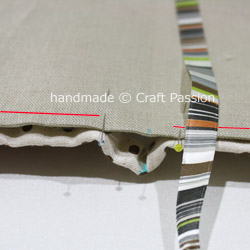 a. Place the center lining on top of the wrong side of the cover. b. Pin it to secure.
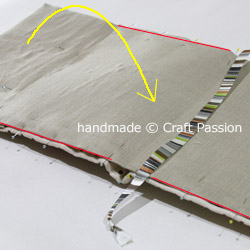 Flip the left and right side lining onto it. Sew along the red lines.
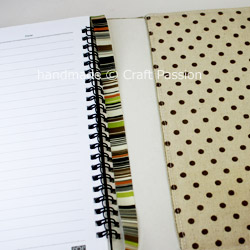 Slot the front and back cover to the sidelining pockets.
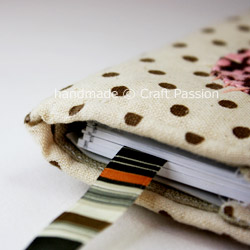 Close the notebook and check for the fitting. Just in case it is a little too tight, trim the edges of the notebook to make them fit better. (Mine fitted very well, no modification was needed.)
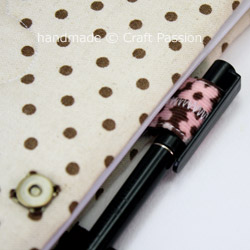 Insert a pen into the pen holder. Check for the position to sew the other pair of of the magnetic button.
What’s next, maybe a bag? Maybe, thinking, thinking, planning, planning!!!
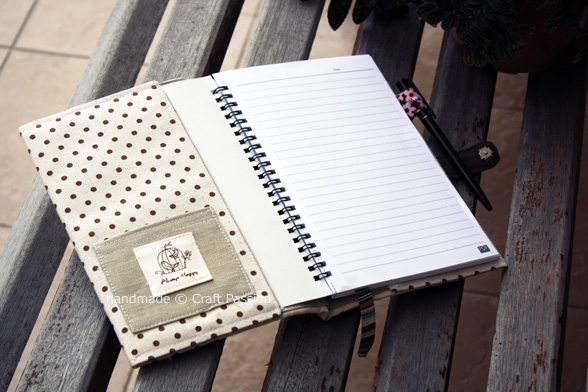
Notes
Get the full article at https://www.craftpassion.com/sewing-note-book-cover-tutorial-pattern-2/





Hi. I'm interested in making a book cover bag. Can you help me?
I so love this site and have only spent five minutes looking at it. Would love to receive more inspirational ideas! x
I am having a little trouble with the left and right side lining portions... as far as I can tell, the inside edges as well as the left and right edges of the centre linning are left raw? Is that correct or is there a step I am missing?
Yes, Roxanne, you are right, I left them raw as the fusible interfacing will protect it from fraying. If you don't feel comfortable, you may add a 3/8" seam allowance, fold it down and top-stitch it.
It`s amazing ,your blog is beautiful
oh yaa its reallly good
hi..i also wants to purchase this kind of book cover from you for my Daily Lesson Plan Book...please give me your detail.
what kind of cloth did u use?
Polka-Dot is a slightly thicker cotton, Pink Flower is corduroy.
Thank-you for the heads-up, I needed that help:)
can i order a note book cover from you?
sublime j adore merci jojo
Translation (by Google):
I adore sublime thank you jojo
Hiya, is there anyway i could purchase this notebook cover?
many thanks Sam
I really like this notebook cover but it looks a bit difficult for me... =( I have problem understanding the picture and the tutorial...
This is for intermediate sewer, my dear :s
Come to my house with your materials 🙂 we can sew it together.
Your work is always so pretty! I linked to your tutorial over at Craft Gossip Sewing:
http://sewing.craftgossip.com/tutorial-sew-a-cute-notebook-cover/2010/08/05/
--Anne
That is so pretty! Thanks so much for the tutorial, I'll be linking.